| The End of the World | ||||||||||||
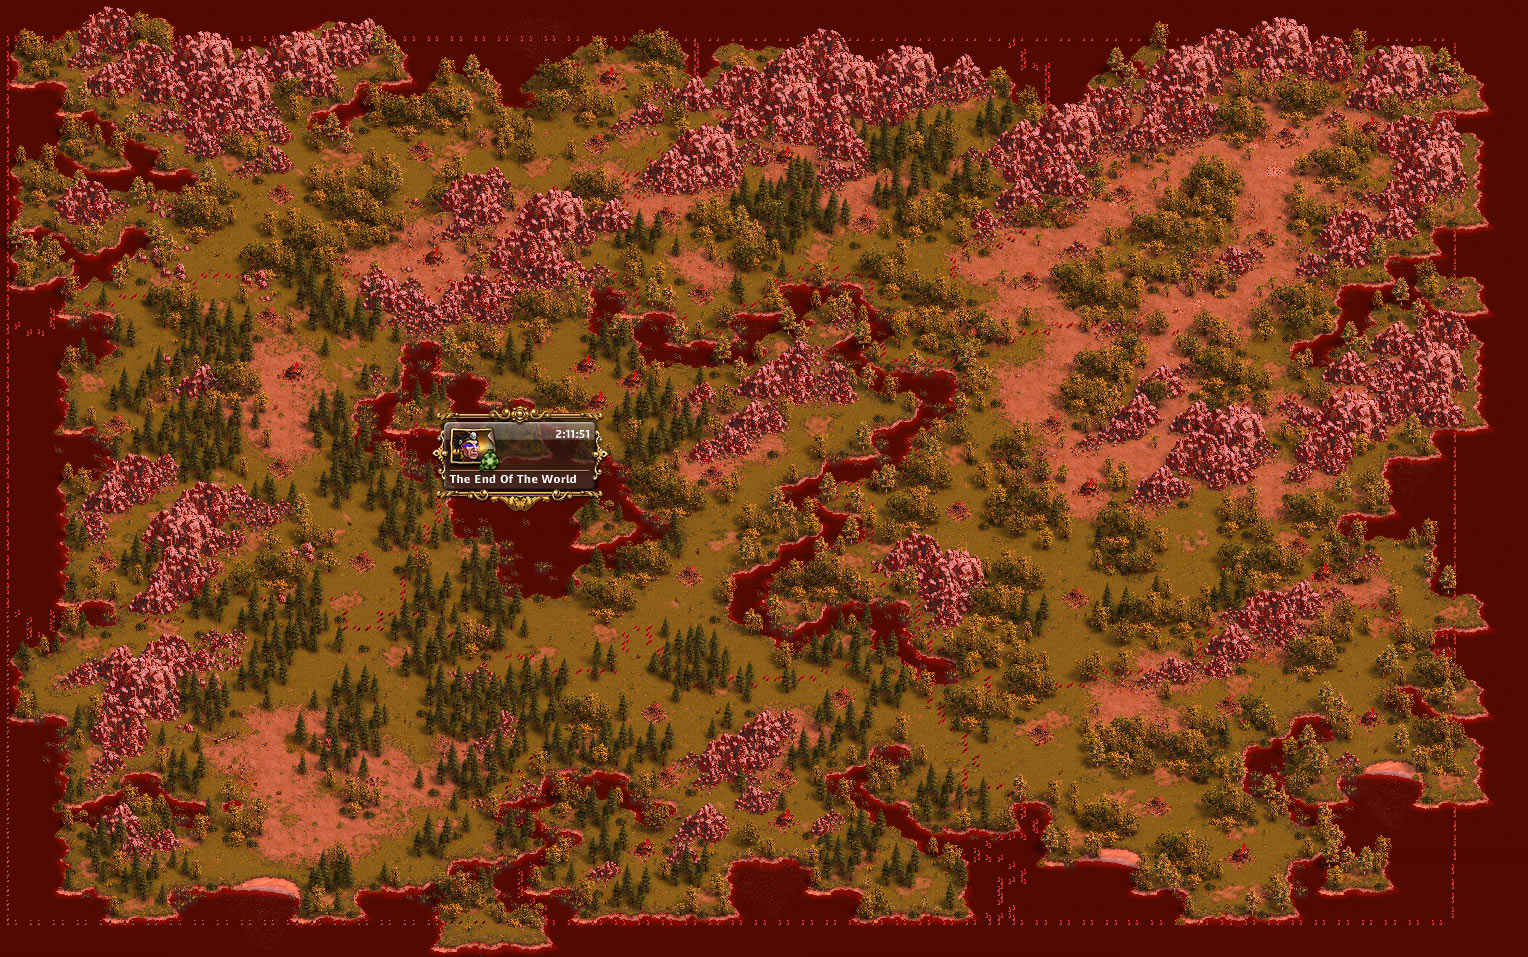 | ||||||||||||
| The old astrologist has convinced out venerable king Damien that we are all doomed! The world will still end because of a terrible curse an old and mysterious clan of Mayan witchdoctors cast over the world a thousand years ago! However, the old astrologist also knows a way to escape the disaster. He has opened a gateway in time to take you back to the day the curse was cast. We need you to prevent this cataclysmic curse from being cast! Can you hear their shamans chanting? Quick, there is no more time to waste - go and avert what will otherwise be the end of us all! | ||||||||||||
| ||||||||||||
| V • E • D | ||||||||||||
Description[]


| Units Required: |
815R, 220B, 142S, 172XB or 1308R, 125B, 147S, 200LB |
| Days to complete: | 2.5 |
The is a special adventure that is tied to the Myan 'end of the world' prohecy and pits all the Settlers gaming servers against each other. There are numerous rewards for the speed and amount of maps completed between Dec 10th and Dec 19th 2012.
I suggest you take 142 Soldiers, you only need 100, so you can attack 2 bases at once, instead of waiting on one to finish, and not waste time juggling the troops.. by this stage you should have 200 Soldiers in stock for regular adventures anyway.
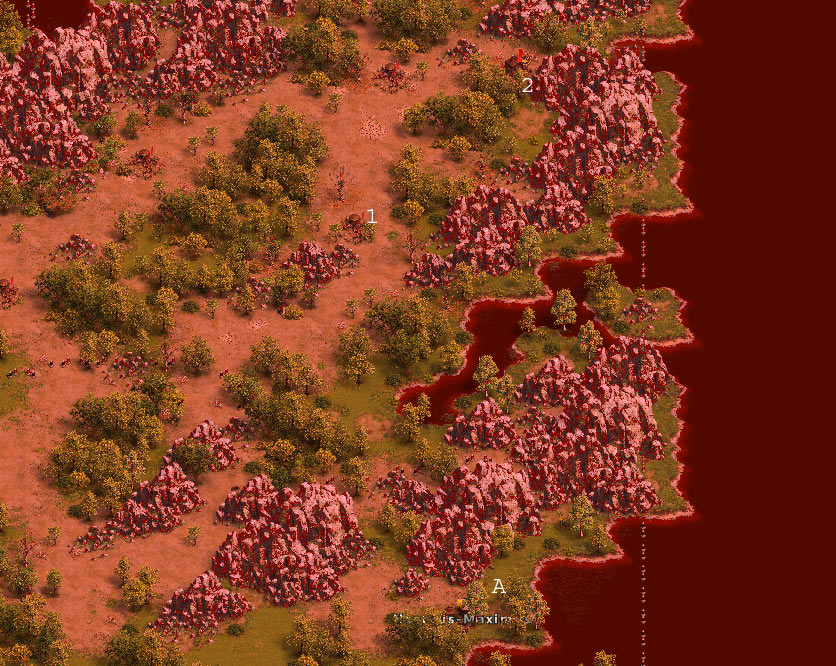
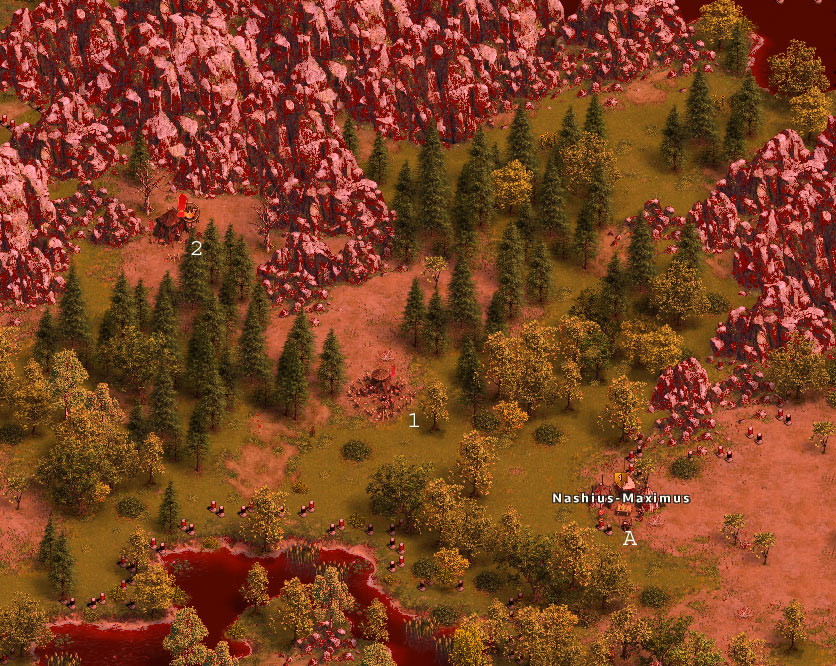
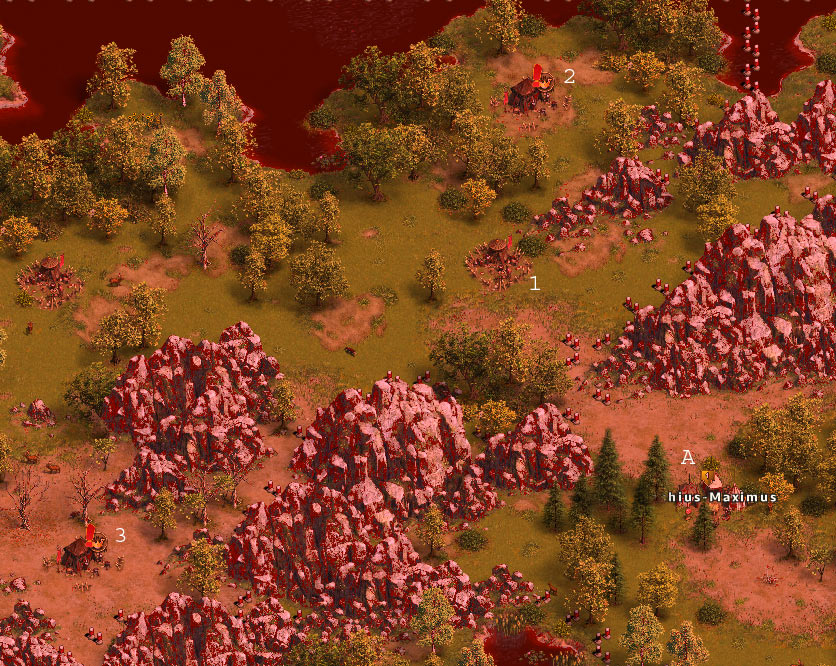
Here i've added aquick reference map showing the order and general attack positions. Note that position 2 or 3 can be used in clearing sector 2; in the guide below i use 3 but the more i play it the more i prefer to clear most of section 2 from above from sector 5.
Crossbow Version[]
Confused? See "What do these letters mean?"
Crossbows are a very effective weapon, and can save you a lot of troop losses.
NOTE: longbows can be used but with at least 1 more sacrificial bowman and/or recruit. If you don't have Crossbows, then you can find the corresponding troop requirements for Longbow attacks in the next section below.
| Sector | Enemy | Attack With | Attack With (no XB) | |
|---|---|---|---|---|
|
Key to ideal attacking formations: | ||||
|
30 Tribesman, 30 Shaman, 50 Jaguar 50 Tribesman, 50 Shaman
|
15R, 13B, 172XB 200R
|
14R, 72S, 13B, 101LB 29R, 104S
|
||
| Move to the E of starting sector and use the gap to attack Sector 5. there is no other way to clear this sector so it's a good place to start. | ||||
| Sector5 |
100 Jaguar 50 Shaman, 100 Jaguar
|
100S, 100XB 21B 42S 137XB
|
10R, 5S, 185LB 55R / 10S 190LB
|
  |
|
Move three generals to far South Eastern point of Sector 5. First clear the camp in sector 2 that blocks your path and then clear Sector 3 | ||||
| Sector2/3 |
50 Tribesman, 50 Shaman 30 Tribesman, 30 Shaman, 100 Jaguar 50 Shaman, 100 Jaguar
|
200R 66R / 13B, 15S, 172XB 21B 42S 137XB
|
29R, 104S 115R / 200LB
|
  |
| Place an attacking general in the South Western point of Sector 3 to attack back through the lower part of Sector 2 | ||||
| Sector2 |
50 Shaman, 100 Jaguar 2x 40 Tribesman, 40 Shaman, 40 Jaguar |
21B 42S 137XB 19R, 40S, 17B, 124XB |
55R / 10S 190LB 21R, 19B, 40S, 120LB |
  |
| Move two generals to the far North east of Sector 3 and attack through the gap to clear the covering camp and then the two leader camps in Sector 6. | ||||
| Sector6 |
30 Tribesman, 30 Shaman, 100 Jaguar 50 Shaman, 100 Jaguar
|
66R / 13B, 15S, 172XB 21B 42S 137XB
|
55R / 10S 190LB
|
  |
|
Attacking from the South East the 2nd camp can be replaced with a block to save on those losses. The block is detailed below the main article. | ||||
| Sector9 |
30 Tribesman, 30 Shaman, 50 Jaguar 30 Tribesman, 30 Shaman, 100 Jaguar *
|
15R, 13B, 172XB 66R / 13B, 15S, 172XB
|
14R, 72S, 13B, 101LB 115R / 200LB
|
  |
| Move to the North West of Sector 9 to attack into Sector 8 | ||||
| Sector8 |
30 Tribesman, 30 Shaman, 100 Jaguar 50 Tribesman, 50 Shaman |
66R / 13B, 15S, 172XB 200R |
115R / 200LB
|
  |
| Move to the North West exit of Sector 8 to attack into Sector 7 | ||||
| Sector7 |
30 Tribesman, 30 Shaman, 50 Jaguar 2x 50 Tribesman, 50 Shaman |
15R, 13B, 172XB 200R |
14R, 72S, 13B, 101LB 29R, 104S |
  |
| Attack down into Sector 4 from anywhere above the Leaders camp | ||||
| Sector4 |
30 Tribesman, 30 Shaman, 100 Jaguar 50 Tribesman, 50 Shaman |
66R / 13B, 15S, 172XB 200R |
115R / 200LB 29R, 104S |
  |
| Block | ||
|---|---|---|
| Sector9 |
To perform the block in sector 9, avoiding the 2nd camp that is covering the leader, is really simple and easier than any other block i've had to do. General A has 200R
|
  |
Longbow Version[]
Replace the occurances above with these values for longbows replacing crossbows.
| Enemy | Attack With |
|---|---|
| 30 Tribesman, 30 Shaman, 50 Jaguar
100 Jaguar
30 Tribesman, 30 Shaman, 100 Jaguar
50 Shaman, 100 Jaguar
40 Tribesman, 40 Shaman, 40 Jaguar |
15R, 13B, 172LB 29R 5S 166L or (20R / 200LB)
98B / 200LB
54R / 39R 161LB
21R, 17B, 40S, 122LB |
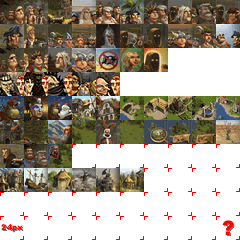
Bandits[]
The following bandits are found in The End of the World adventure.
|
|
|
|


Rewards[]
